尝试 Windows Terminal + z.lua
2021-01-23
代替 Bash + autojump
完成全部的设置大概需要 0.5-1h
系统自带基本不用操作
Windows-Terminal - Microsoft Store
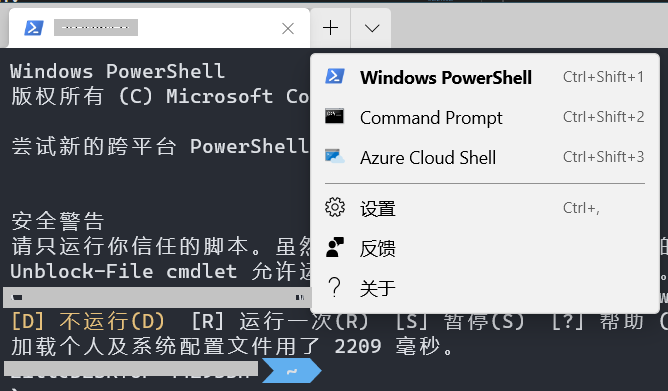
这一段是设置 Powershell, 因为最终我们是通过 Windows Terminal 启动 Powershell
使用 PowerShell, 执行下面的命令分别安装 Posh-Git 和 Oh-My-Posh:
# PSReadline - 实现类似 ZSH 那样的命令补全
Install-Module -Name PSReadLine  -Scope CurrentUser
# posh-git - Git 插件
Install-Module posh-git -Scope CurrentUser
# oh-my-posh - 主要用于 Powershell 美化
Install-Module oh-my-posh -Scope CurrentUser
-Force 参数以强制安装新版本打开 powershell 输入:
notepad $PROFILE
这一段脚本在每次新的 powershell 开启的时候都会自动执行
添加这一段东西:
# ========================= Import Modules =======================
Import-Module posh-git
Import-Module oh-my-posh
Import-Module PSReadLine


# ========================= Theme =======================
# 这里选择配色主题, 也可以另外开启一个 Terminal 输入`Get-PoshThemes` 来直接查看所有主题
Set-Theme marcduiker


# ========================= PSReadLine =======================
# 使用历史命令记录来应用自动补全
Set-PSReadLineOption -PredictionSource History

# 每次回溯输入历史,光标定位于输入内容末尾
Set-PSReadLineOption -HistorySearchCursorMovesToEnd

# 设置 Tab 为补全的快捷键
Set-PSReadLineKeyHandler -Key "Tab" -Function MenuComplete

# 设置 Ctrl + Z 为撤销
Set-PSReadLineKeyHandler -Key "Ctrl+z" -Function Undo

# 设置向上键为后向搜索历史记录
Set-PSReadLineKeyHandler -Key UpArrow -Function HistorySearchBackward

# 设置向下键为前向搜索历史纪录
Set-PSReadLineKeyHandler -Key DownArrow -Function HistorySearchForward
下载你希望使用的字体, 这里有一个好网站: Nerd Fonts, 我比较喜欢这款: Cascadia Code
旧版 Powershell 从 Windows Terminal 下拉菜单中选择 设置 来打开 settings.json 文件中的配置文件设置.
{
    // Make changes here to the powershell.exe profile.
    "guid": "{61c54bbd-c2c6-5271-96e7-009a87ff44bf}",
    "name": "Windows PowerShell",
    "commandline": "powershell.exe",
+   "fontFace": "Cascadia Code PL",
    "hidden": false,

    // 这里给 windows terminal 设置主题
+   "colorScheme": "One Half Dark"

},
这个地方的主题还可以进行自定义或者导入别人已经成功写好的主题
新版 Powershell 点开设置的时候可以通过 GUI 页面进行设置字体和颜色
一个代替 autojump 的快速跳转工具
http://luabinaries.sourceforge.net/download.html
下载 64 位 executable 然后解压, 将目录加到 %PATH%
https://github.com/skywind3000/z.lua/releases
下载之后解压到自己想要放的文件夹, 记录下对应的路径.
Powershell 输入:
notepad $PROFILE
最后一行输入:
iex ($(lua D:/你的路径/z.lua/z.lua --init powershell) -join "`n")
https://github.com/skywind3000/z.lua/blob/master/README.cn.md
z foo       # 跳转到包含 foo 并且权重(Frecent)最高的路径
z foo bar   # 跳转到同时包含 foo 和 bar 并且权重最高的路径
z -r foo    # 跳转到包含 foo 并且访问次数最高的路径
z -t foo    # 跳转到包含 foo 并且最近访问过的路径
z -l foo    # 不跳转,只是列出所有匹配 foo 的路径
z -c foo    # 跳转到包含 foo 并且是当前路径的子路径的权重最高的路径
z -e foo    # 不跳转,只是打印出匹配 foo 并且权重最高的路径
z -i foo    # 进入交互式选择模式,让你自己挑选去哪里(多个结果的话)
z -I foo    # 进入交互式选择模式,但是使用 fzf 来选择
z -b foo    # 跳转到父目录中名称以 foo 开头的那一级
实际上在安装的时候 Win 就已经给 Windows Terminal 设置了别名, Win+R 然后输入 wt 就可以打开
notepad $profile
打开配置文件, 然后在上面添加上 alias:
# 这里用 `push` 代替 `git push`
function push { git push }

# 可以一次执行多少命令
function gitupdate {
    git add --all;
    git commit -m "Update";
    git push;
}

# 还可以使用参数等扩展用法
# 使用方法: cmt 123 'Commemts'
function cmt($ticketNum, $comments) {

  $string1="Ticket-"
  $string2=$ticketNum + ""
  $string3=$string1 + $string2 + ":"+ $comments

  # echo $string3
  git commit -m $string3

  # git commit -m "Ticket-XXX:Comment"
}

# 以及使用 Switch 来操作多段命令
function project($x) {
  switch($x){
    "goto" {
      project
      explorer .
    }
    "code" {
      project
      code .
    }
    "dev"{
      project
      yarn dev
    }
    Default {
      z project
    }
  }
}
不需要管理员权限
z.lua 和 z.cmd 到 clink 的目录z in clink windownotepad.exe $PROFILE
在脚本末尾加入如下代码即可:
$env:LESSCHARSET='utf-8'
也可以修改环境变量: 直接添加环境变量 LESSCHARSET,变量值 utf-8,重启电脑让变量生效
或者可以只对当前窗口生效, 直接输入:
set LESSCHARSET=utf-8
管理员权限运行 Powershell:
get-ExecutionPolicy -list
会得到:
        Scope ExecutionPolicy
        ----- ---------------
MachinePolicy       Undefined
   UserPolicy       Undefined
      Process       Undefined
  CurrentUser    Unrestricted
 LocalMachine    Unrestricted
若显示 Restricted , 表示状态是禁止的, 进行如下修改即可:
set-executionpolicy remotesigned
Set-ExecutionPolicy Unrestricted -Scope CurrentUser
Set-ExecutionPolicy Unrestricted
# CurrentUser 对应的权限将会覆盖 LocalMachine 的权限, 因此要一起设置
这个方法仅仅解锁了一个文件安全性高一些
Set-ExecutionPolicy remotesigned -Scope CurrentUser
Set-ExecutionPolicy remotesigned

# 然后跑到你对应的 PS1 文件所在的文件夹
Unblock-File .\Microsoft.PowerShell_profile.ps1
