优雅地乱玩 Linux-2-zsh
2017-05-28
更新历史:
- 2017 年 05 月 28 日 s - 攒写最初正文
- 2017 年 07 月 09 日
- 添加插件推荐
- 2017 年 11 月 04 日
- Fixed typo
- 2017 年 11 月 05 日
- 添加 cnpm 支持的指导
sudo apt-get install zsh
安装成功后输入
zsh
进行初始化, 一般使用默认设置就可以
首先, 使用这行命令可以查看当前使用的 Shell
echo $SHELL
正常情况, 运行下面代码即可:
chsh -s /bin/zsh
reset
然鹅, 这里可能出现很多情况, 比如权限不够, 或者路径不是 /bin/zsh , 这个时候先查看一下所有的 Shell
cat /etc/shells
然后将 zsh 那个设置成对应的 shell
chsh -s [which zsh]
但是, 这里依然不一定生效, 可能会出现 chsh: PAM authentication failed 的错误
那么就使用这个方法:
well, my solution maybe help you
sudo vim /etc/pam.d/chsh
then, comment auth required pam_shells.so
sudo chsh [user] -s [which zsh]
如果依然不行, 那么就只能直接修改 sudo vi /etc/passwd 文件
Open /etc/passwd:
sudo vi /etc/passwd Find the line with your username:
username:x:1634231:100:Your Name:/home/username:/bin/bash and replace bash with zsh:
username:x:1634231:100:Your Name:/home/username:/bin/zsh Log out and log inback for the changes to take effect.
似乎只能在 zsh 里面安装, 所以先保证切换 shell 到 zsh 再执行下面的语句:
sh -c "$(curl -fsSL https://raw.github.com/robbyrussell/oh-my-zsh/master/tools/install.sh)"
设置主题需要先安装 oh-my-zsh, 单纯安装 zsh 无法使用
vi ~/.zshrc
即可打开配置, 然后设置, 就可以使用 oh-my-zsh 下面 theme 文件夹里面的主题了
ZSH_THEME=robbyrussell
就是给累赘的命令行增加个别名, 在配置文件末端进行设置即可:
# Example aliases
# alias zshconfig="gedit ~/.zshrc"
# alias ohmyzsh="mate ~/.oh-my-zsh"
alias cls='clear'
alias show='nautilus'
取消第一行注释之后就可以通过 zshconfig 快速打开配置文件了
oh my zsh 项目提供了完善的插件体系, 相关的文件在 ~/.oh-my-zsh/plugins 目录下, 默认提供了 100 多种, 大家可以根据自己的实际学习和工作环境采用, 想了解每个插件的功能, 只要打开相关目录下的 zsh 文件看一下就知道了.
插件也是在.zshrc 里配置, 找到 plugins 关键字, 你就可以加载自己的插件了, 系统默认加载 git , 你可以在后面追加内容, 如下:
plugins=(git textmate ruby autojump osx mvn gradle)
首先安装 autojump:
sudo apt install autojump
最后把以下代码加入 .zshrc (git 是默认的插件):
如果没有下面这一行就自己加上
plugins=(git autojump)
然后在最末端添加下面这一行:
[[ -s ~/.autojump/etc/profile.d/autojump.sh ]] && . ~/.autojump/etc/profile.d/autojump.sh
你可能需要在终端里面执行一次 Reload 或者 Log Off 一次才能看到改变
这样就可以了
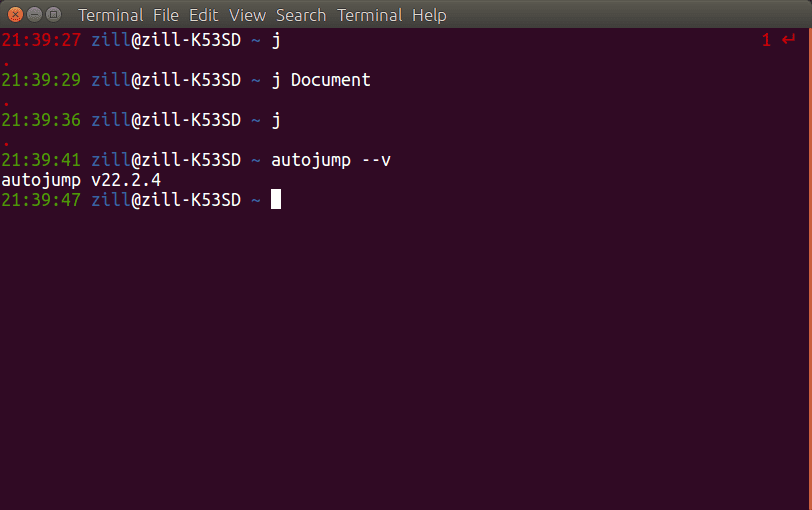
最主要的就是 j 命令:
j [name]
autojump 首先会查找含有上方关键字的路径的访问权重, 然后进入权重最大的那个文件夹, 当然需要你先进入一次这个文件夹
可以通过输入:
j --stat
查看访问过的各个文件夹的权重
默认开启的一个插件, 会在 repo 里面自动显示 git 相关信息
这个其实只是一些 alias 而已
主要有一些很好用的 alias:
ag = sudo Apt-Get agi = sudo Apt-Get Install agd = sudo Apt-Get Dselect-upgrade By now you already can guess almost all aliases
如果你用的 zsh, cnpm 就不能直接使用, 必须添加一个 alias
# alias it in .bashrc or .zshrc

echo '\n#alias for cnpm\nalias cnpm="npm --registry=https://registry.npm.taobao.org \
  --cache=$HOME/.npm/.cache/cnpm \
  --disturl=https://npm.taobao.org/dist \
  --userconfig=$HOME/.cnpmrc"' >> ~/.zshrc && source ~/.zshrc
上面用的是默认 zshconfig 路径, 改成你需要的路径就行
